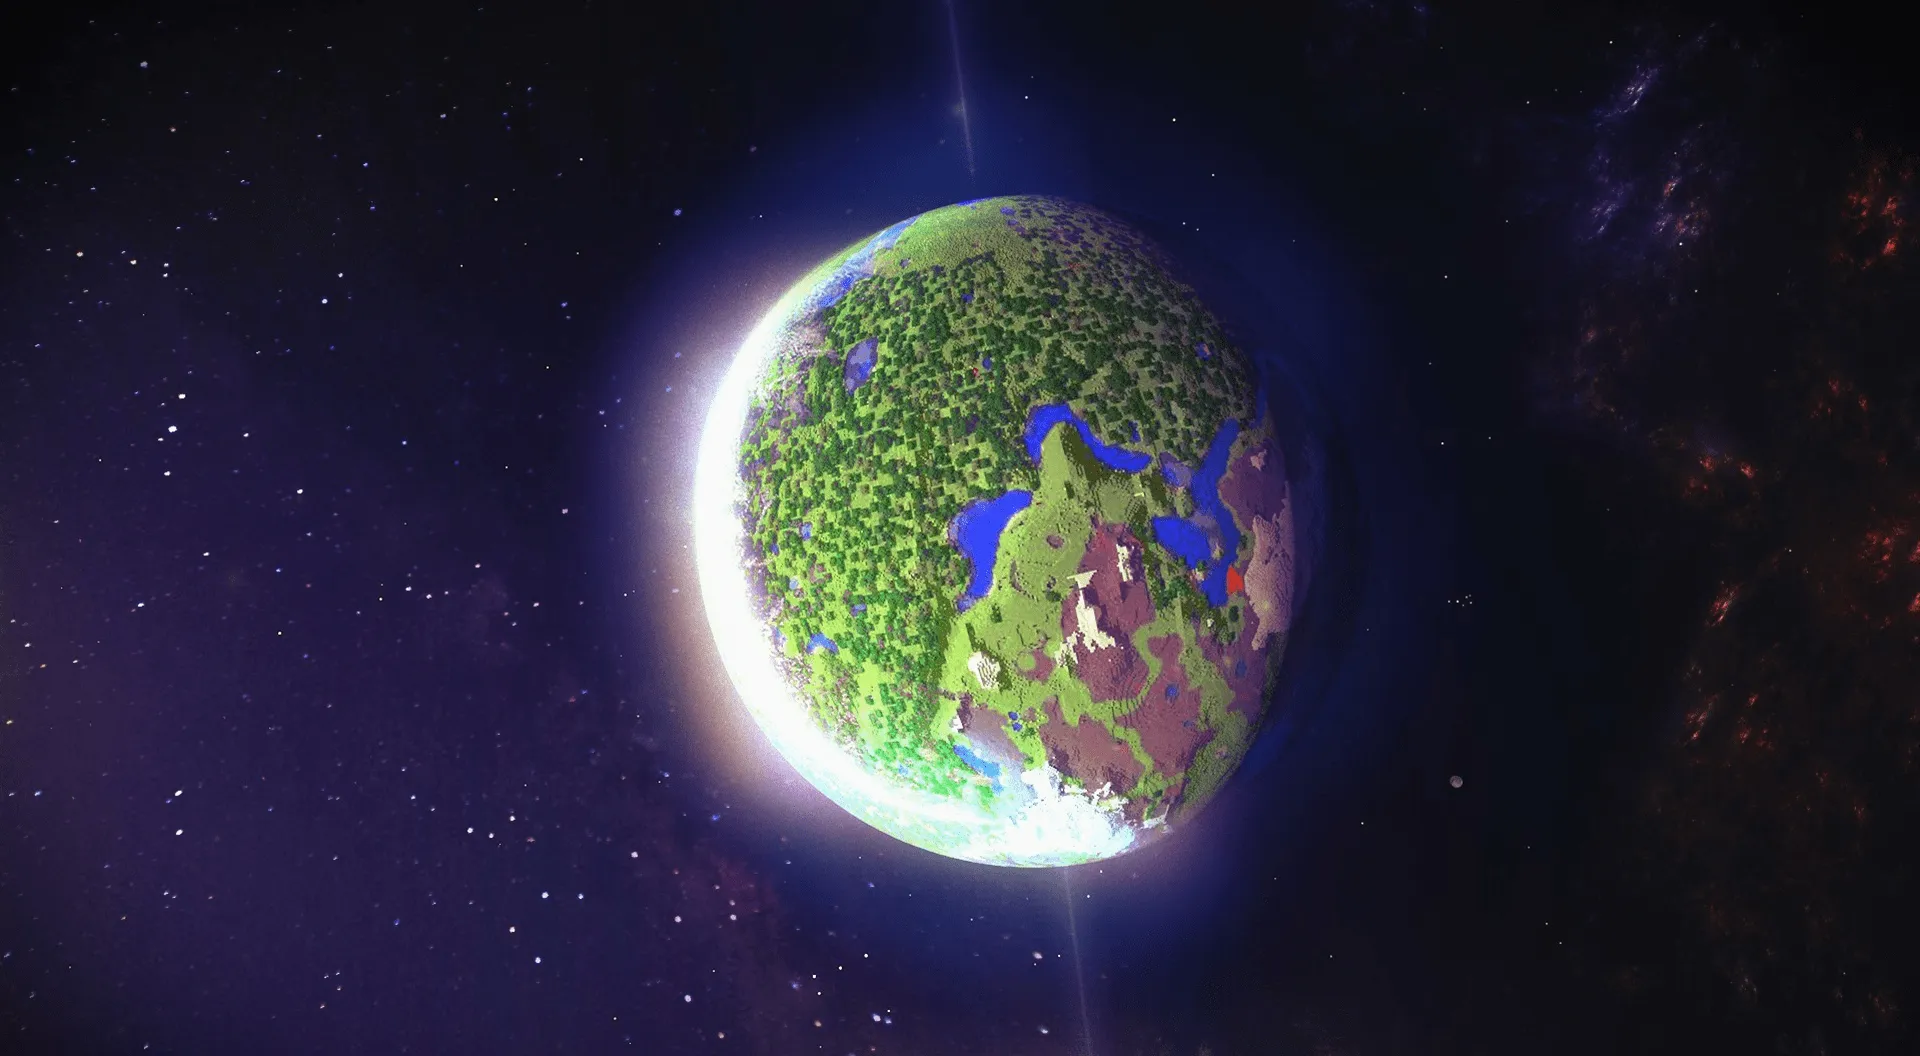
Multiverse-Core is the essential multi-world management plugin for Minecraft servers. It allows you to run multiple separate worlds—such as a Survival world, a Creative plot world, a Nether dimension, and custom minigame maps—on a single Spigot or Paper server instance.
This complete guide covers installing Multiverse-Core, creating new worlds, importing existing custom maps, teleporting between worlds, and configuring per-world rules.
Step 1: Install Multiverse-Core via the Cubes Panel
- Log in to your Cubes Hosting Game Panel and select your Minecraft server.
- Go to Tools > Plugin & Mod Installer on the left menu.
- Search for Multiverse-Core (and optional add-ons like Multiverse-Inventories for separate inventories or Multiverse-Portals for portal links).
- Click Install and restart your server from the Console.
Step 2: Creating New Worlds from Scratch
Multiverse allows you to generate new worlds with different environment types and world generators.
- Create a Standard Survival World:
/mv create survival_world normal - Create a Superflat World (for Creative / Testing):
/mv create creative_world normal -t flat - Create a Custom Nether or End Dimension:
/mv create custom_nether nether
/mv create custom_end end
Step 3: Importing Existing Custom Worlds
If you downloaded a custom adventure map, a spawn build, or backed up a single-player world, you can import it into Multiverse in three steps:
1. Upload the World Folder
- Open your Game Panel File Manager (or connect via SFTP).
- Upload your custom world folder directly into your server's root directory (the main folder alongside your
server.propertiesfile). - Ensure the folder name contains no spaces or special characters (e.g. rename
My Worldtomy_world).
2. Run the Import Command
- Connect to your server in-game as an Operator (OP) or use the Game Panel Console.
- Run the import command, specifying the folder name and world environment (
normal,nether, orend):/mv import my_world normal - Multiverse will scan the folder, load the level data, and display a confirmation message:
Complete!.
Step 4: Teleporting & World Management Commands
Once your worlds are created or imported, use these commands to navigate and manage them:
| Action | Command | Description |
|---|---|---|
| List All Worlds | /mv list | Shows all currently loaded and unloaded worlds. |
| Teleport to a World | /mv tp <worldname> | Instantly teleports you to specified world's spawn. |
| Set World Spawn | /mv setspawn | Sets the spawn point for your current location. |
| Unload a World | /mv unload <worldname> | Unloads a world from RAM to free up server resources. |
| Load a World | /mv load <worldname> | Reloads a previously unloaded world back into memory. |
| Remove a World | /mv remove <worldname> | Unregisters a world from Multiverse without deleting files. |
| Delete a World | /mv delete <worldname> | Permanently deletes a world and wipes its files. |
Step 5: Configuring Per-World Rules (/mv modify)
Multiverse allows you to customize game rules, PvP, mob spawning, and game modes individually for each world without affecting the rest of your server.
1. Changing World Game Modes
- Force a world into Creative mode:
/mv modify set gamemode creative - Force a world into Survival mode:
/mv modify set gamemode survival
2. Toggling PvP & Mob Spawning
- Disable PvP combat in spawn/creative worlds:
/mv modify set pvp false - Disable hostile mob spawning:
/mv modify set monsters false - Disable passive animal spawning:
/mv modify set animals false
3. Setting World Aliases & Colors
You can change how a world's name displays in chat or tab lists:
/mv modify set alias &a&lCreative_Plots
Useful Add-ons for Multiverse
To take full advantage of multi-world setups, consider installing these official Multiverse add-ons via Tools > Plugin Installer:
- Multiverse-Inventories: Keeps player inventories, health, and ender chests separate between worlds (e.g. players won't keep creative items when switching to survival).
- Multiverse-Portals: Create custom in-game obsidian/water portals that teleport players between worlds when walked through.
Conclusion
Multiverse-Core turns your single Minecraft server into a multi-world network. Whether you create fresh flat worlds, import custom adventure maps, or configure peaceful lobby zones with /mv modify, Multiverse gives you complete control over your server's dimensions!